Cheesecake is one of the easier recipes that I’ve made when it comes to baking. It’s pretty forgiving as long as you don’t overwhip the mixture. Typically I would give the macros for this recipe, but in all honesty, I don’t even know where to start with this. Whatever macros you find online for a typical cheesecake is most likely the same as the one below.
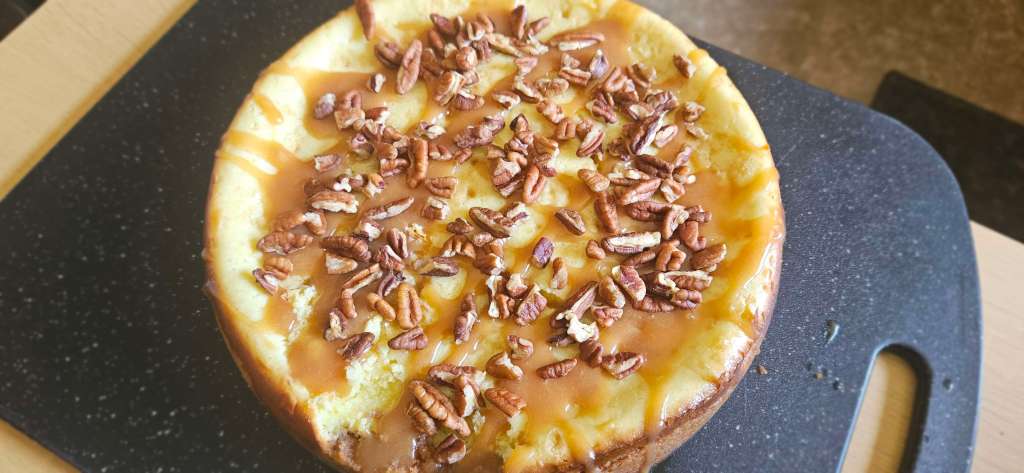
Also, incase you’re wondering what happened to the bottom part of the picture, not gonna lie I ate a piece of it the moment it got out the oven.
Ingredients:
- 2 Blocks of Cream Cheese
- OR 1:1 Ratio of Cream Cheese and Mascarpone Cheese to make it even better
- 2 cups of Granulated Sugar
- 3 Eggs
- 1 tsp Lemon Juice
- Pinch of Lemon Zest (optional, but recommended)
- Graham Crackers (enough to fill the bottom of the pan.
- 1 tbsp Sour Cream (Highly recommended, but if you don’t have it on you, you can manage)
- 2 tsp of Vanilla extract or Vanilla Bean Paste
- 1/4 cup Unsalted Butter (for Graham Crackers)
Tips:
- Majority of the ingredients can be cold, but the cream cheese and the eggs should be room temperature
- DO NOT OVER BEAT THE MIXTURE! When mixing, make sure to scrape off the sides to ensure everything is blended together well. Also, adding too much air into this will ruin the cake. Not to the point of where it tastes bad, but the texture will most certainly be off
- You can do this recipe in a 8 x 8 square pan, or a regular springform pan. The square pan does cook faster though, it will be done in like 40-50 minutes compared to a 60-70 minute springform pan.
- To know if a cheesecake is done, it should have a little bit of wobble when you shake it. It shouldn’t be still liquid in the middle (underbaked) or stiff as a paper weight (overbaked)
Water bath vs No Water bath

Believe it or not, this is a little important, but scroll down to the TLDR in red if you want
An oven is… well… hot. They provide a lot of dry, intense heat which can cause uneven cooking as seen in the cheesecake on the right with its lifted edges. A water bath keeps the baking environment around the cheesecake at a stable temperature to prevent overheating, give it the creamy texture. This allows for…
- Creamer textures throughout each and every bite
- Prevents a lot of cracks onto of the mixture
- A rubbery or grainy texture (if this has happened to you, it’s probably because of an over-coagulation of proteins from mainly the eggs, kinda like how you see in scrambled eggs)
- Surface browning (Dry heat dehydrating the top, and especially the edges)
However, sometimes I don’t feel like doing one (out of laziness lmao). It’s not hard, it’s just that in some situations, my biggest pan is being used for something else and I don’t have a big enough tray for my springform pan. So here’s my situational opinions of if you should, or shouldn’t water bath.
- Q: “I want this to be the best cheesecake I’ve ever tasted. Should I water bath?”
- A: Without a doubt. To make this even better, use the mascarpone cheese ratio I mentioned above
- Q : “I just want to eat a cheesecake. It’s my first time trying, and I’m bored. I’m just here for the fun and flavor of it. Should I water bath?”
- A: Lmao definitely not. Your cheesecake won’t die, I promise. Texture might not be there, but for this reason, who cares. Just make sure it tastes good!
- Q: “I’m trying to impress someone and I want to bake a cheesecake. I don’t have a tray big enough to do a water bath/not enough time to do it. Should I move to some other dessert, or do it without a water bath”
- A: Honestly, unless you’re trying to impress Duff Goldman (and I don’t think even they would be too pressed about it), it’ll be fine as long as the taste is fine.
- Q: “I’m afraid of water spilling or leaking into my cheesecake. Should I do a water bath?”
- A: Yes, but only if you seal it properly. A water bath requires that you tightly wrap the cheesecake on the bottom and sides of the pan with aluminum foil. Only if the aluminum foil is ripped (or quantum tunneling betrays you, which if that happens, how did you win that lottery) will water seep in.
- Q: “I can do a water bath in cheesecake, but I can’t afford to do one at home. Should I do a water bath?”
- A: Bro bro wtf what are you talking about?
If you want to water bath though…
- Step 1: Make sure you have a tray that’s large enough to hold your cheesecake pan comfortably, and deep enough to allow water to come at least halfway up the sides of the cheesecake pan
- Step 2: Tightly wrap the perimeter of your cheesecake in aluminum foil.
- Step 3: Boil some water
- Step 4: Pour the water on the tray, and remember to make sure it only goes half way. Do NOT get water in the cheesecake filling.
- Step 5: Bake according to the steps.
But to give a basic TLDR…
You can do it if you want, but it’s not a necessity. It won’t ruin flavor, mainly texture if anything.
If you want the best cheesecake for an event or whatever, then yes do a water bath. If you don’t care and doing it for boredom, fun, or doing it for yourself and you don’t really care, then you can skip it.
Steps:
- Step 1: Preheat your oven to 350°F (175°C)
- Step 2: Crush the graham crackers until they resemble fine sawdust. Melt the butter and incorporate it into the crumbs. Add a pinch of salt to taste. The final result should be grainy like wet sand.
- Step 3: Press the crust mixture evenly in your pan and be sure to grease the edges. Make sure the crust completely covers the bottom with gaps. Bake the crust until lightly crispy for around 8 – 10 minutes. Set aside to cool
- Step 4: In a bowl (or stand mixer), beat together cream cheese and granulated sugar. Be careful not to accidentally add in too much air (if you’re using a stand mixer, put it on the low setting for around 2 minutes)
- Step 5: Add in the vanilla extract, lemon juice, lemon zest, and sour cream. Gently mix until incorporated
- Step 6: Add the eggs one at a time, mixing gently after each addition.
- Step 7: Gently pour the mixture into the pan and tap very lightly on the counter to release any air bubbles. Set aside to rest for about 5 minutes to ensure all bubbles have escaped.
- Step 8: Bake the mixture for around 40-50 minutes, or until the edges are set and the center has a slight wobble when gently shaken. For a more in-depth recommendation…
- Springform pan with water bath: 60 – 70 minutes
- Spring Form Pan without water bath: 40 – 60 minutes
- 8 x 8 tray with water bath: 40 – 50 minutes
- 8 x 8 tray without water bath: 30 – 40 minutes

You must be logged in to post a comment.